How to Create Grid Slices for Your Instagram
with PanoCut in 4 Simple Steps
Creating a grid slice (also called a slice grid) is a powerful way to make your Instagram profile stand out.
With PanoCut, you can easily split any photo into multiple pieces that connect seamlessly on your feed. Follow these simple steps to transform your images into eye-catching grids.
Step 1 — Choose Your Photo
Open the PanoCut app and select the photo you want to turn into a grid.
For best results, use a high-resolution image with strong visual elements that look good both individually and as part of the bigger picture.

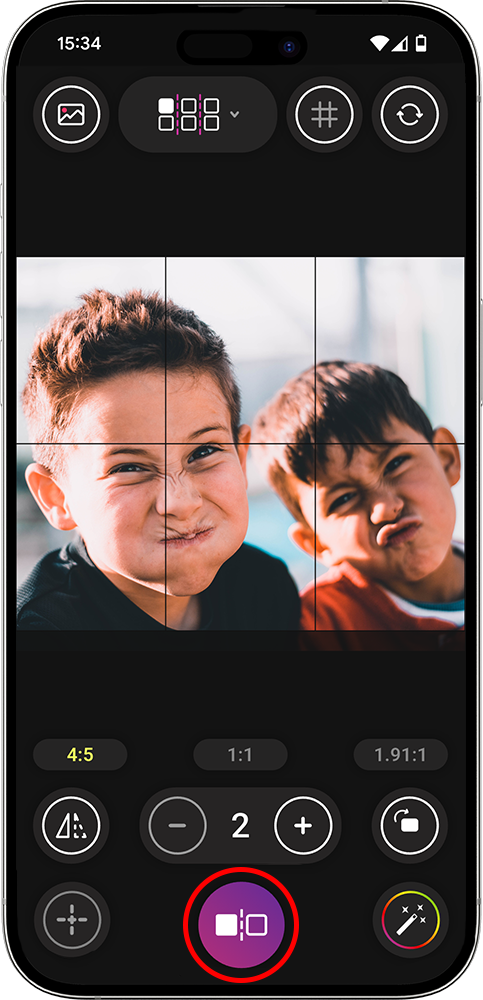
Step 2 — Align & Cut
Once your photo is loaded:
- Select the Grid Slice option.
- Choose 3:4 aspect ratio.
- Choose the grid layout you prefer (e.g., 3×1, 2×2, 3×3).
- Move and adjust the grid lines so that no important details are cut off.
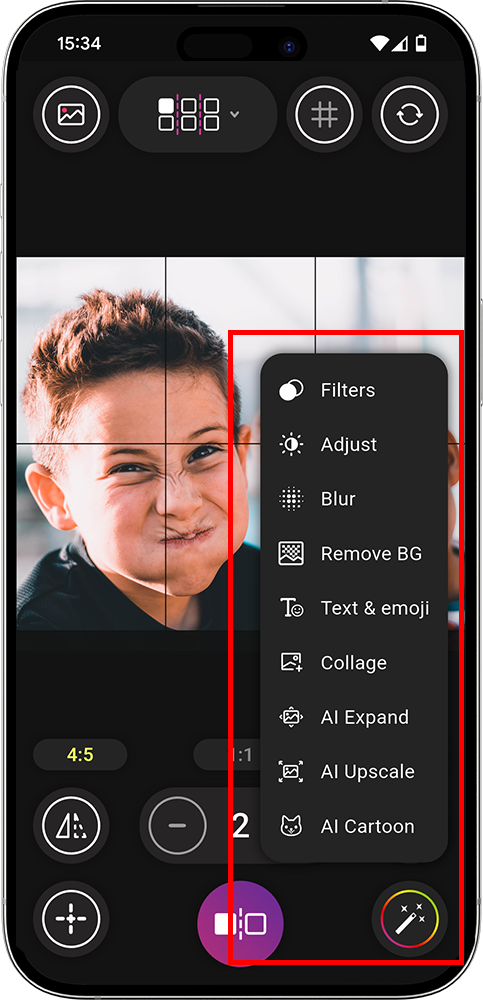
Step 2.1 — Adjust & Apply Filters At Your Need ( Optional step )
Use PanoCut’s built-in tools to enhance your image by applying filters, adjusting brightness, or tweaking contrast directly in PanoCut. This ensures that all slices stay consistent and polished.
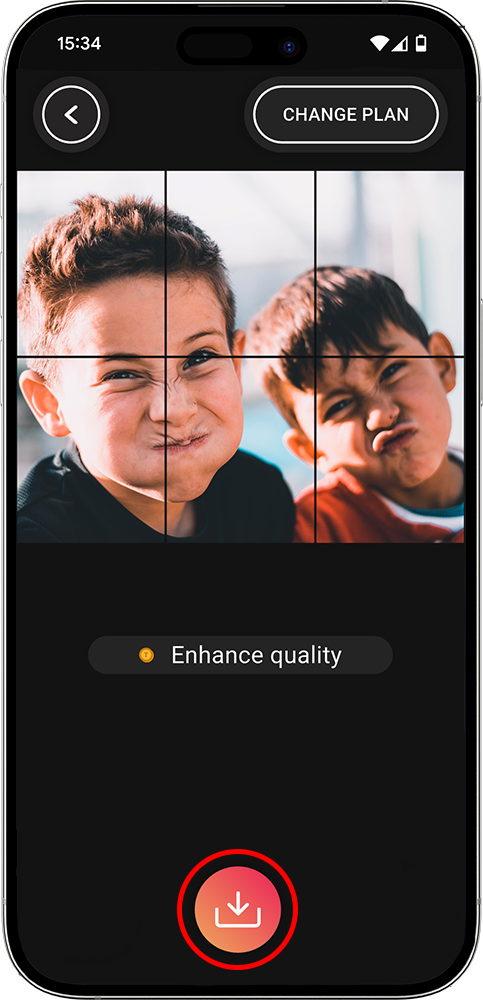
Step 3 — Preview & Save
Tap Preview to see how your slices will look on an Instagram grid. If everything looks good, save the project, PanoCut automatically exports your images in the correct order, ready for posting.
Step 4 — Format & post on Instagram
Open Instagram and upload the saved slices:
- Post them in order, starting from the bottom-right and moving across to top-left ( shown in screenshot ).
- Important to use Full Fit the image button on bottom left ot image to keep everything aligned perfectly.
In just a few steps, your Instagram feed will transform into a stunning, connected grid that grabs attention.
