How to Post Your Panorama on Instagram
with PanoCut in 4 Simple Steps
Have a stunning panorama sitting in your phone but no idea how to
share it on Instagram without losing the magic?
PanoCut is here to help! With our easy-to-use tools,
you can turn any wide photo into a perfectly cut carousel or grid post
that looks amazing in your feed.
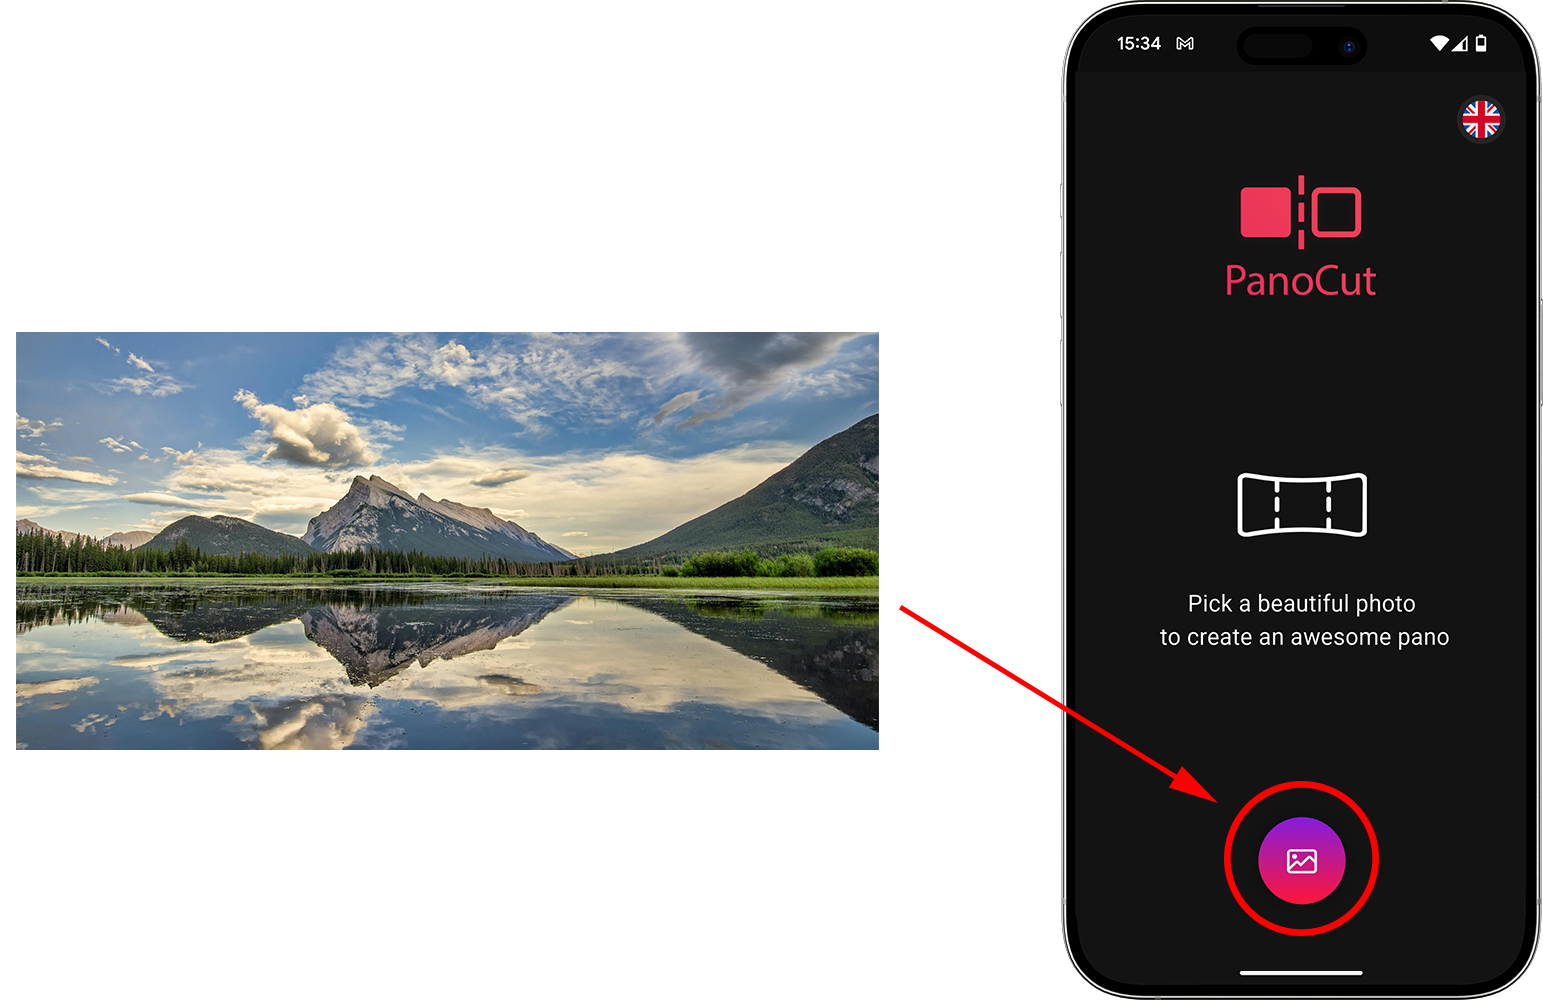
Step 1 — Choose Your Panorama
Open PanoCut and pick the panorama (or any photo) from your gallery.
Step 2 — Cut It Your Way
Select how you want to slice it (for a carousel or grid). Just adjust the cut lines, preview the result, and align it to perfection. You’re in control of how your photo will look.
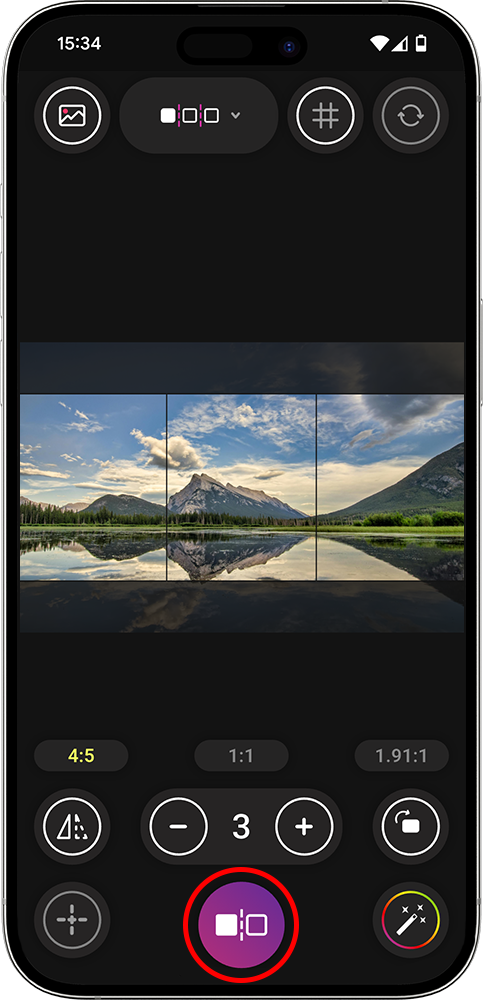
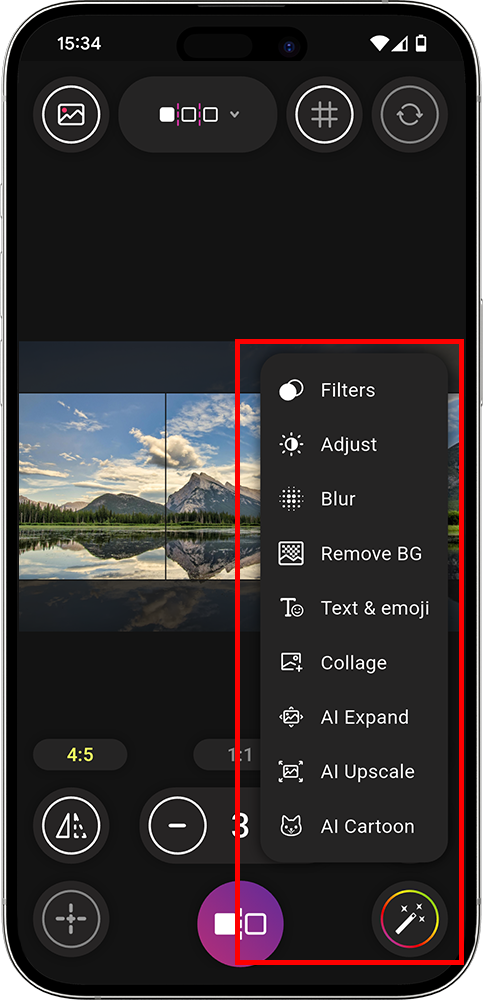
Step 2.1 — Adjust & Apply Filters At Your Need ( Optional step )
Use PanoCut’s built-in tools to apply filters, adjust colors, and retouch your images. Once you’re happy, press cut the slices.
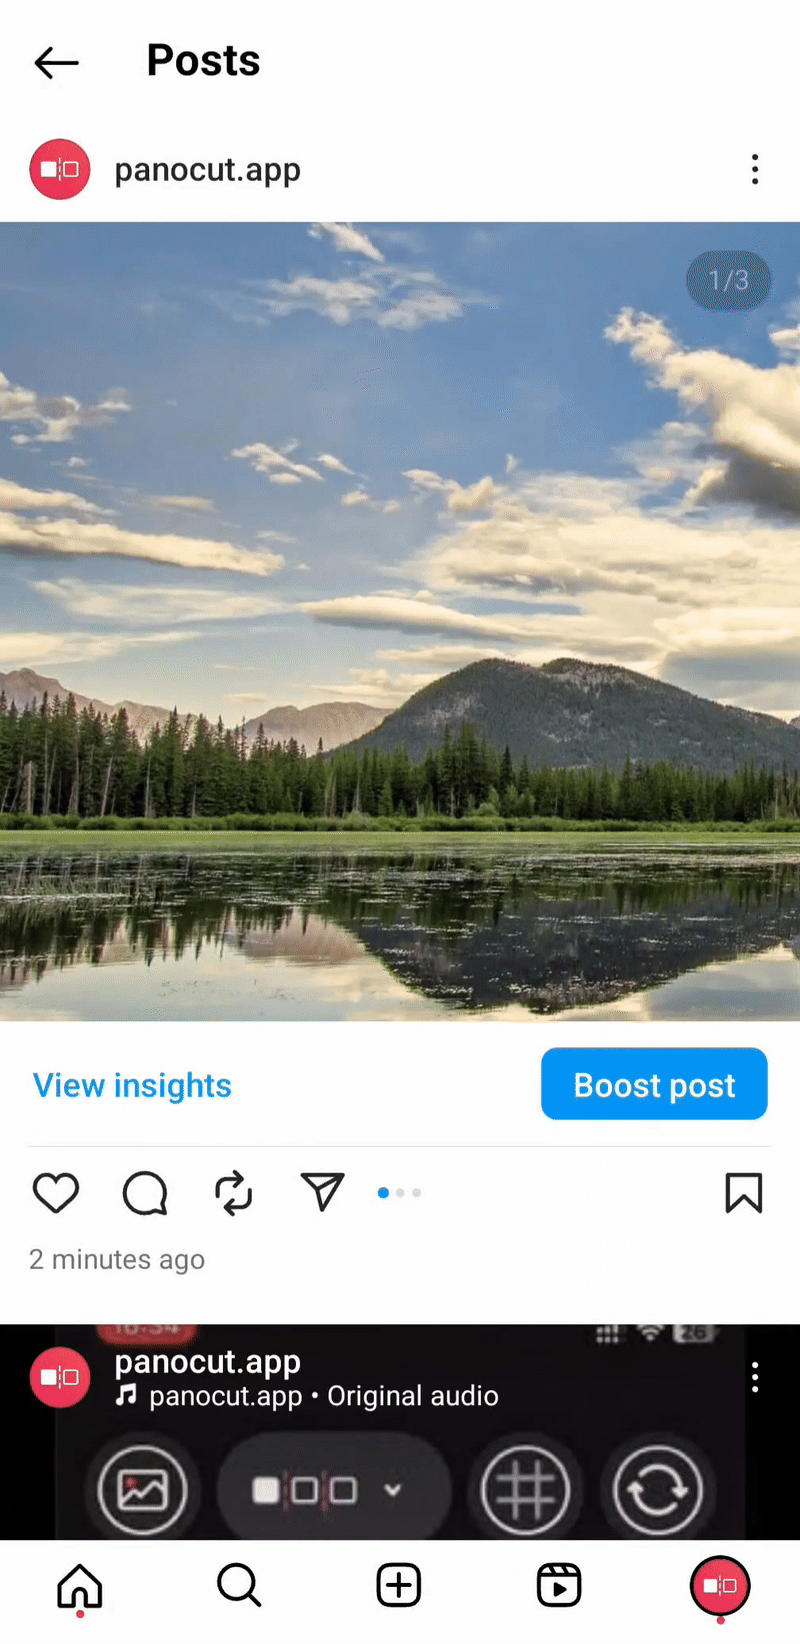
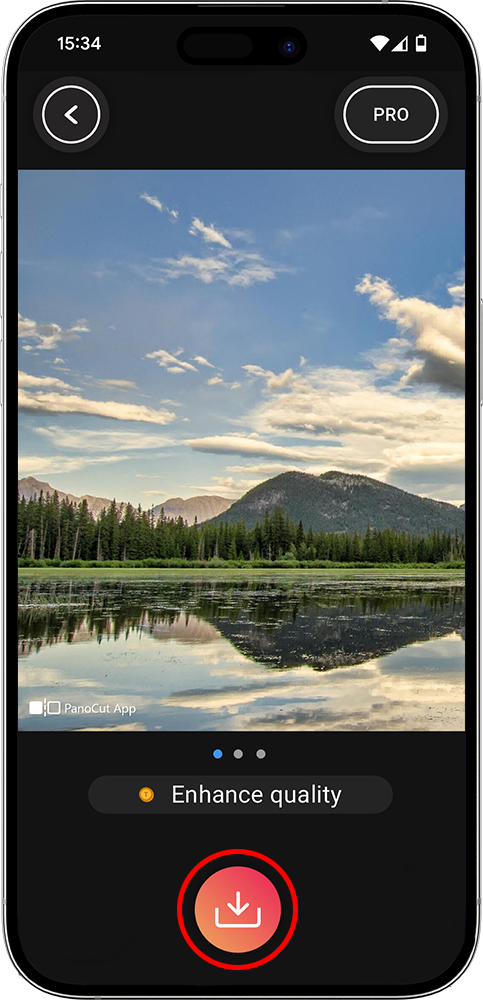
Step 3 — Preview & Save
Check how your sliced images will look together as a carousel. If needed, use the Upscale feature to sharpen the images before saving them in order to your phone.
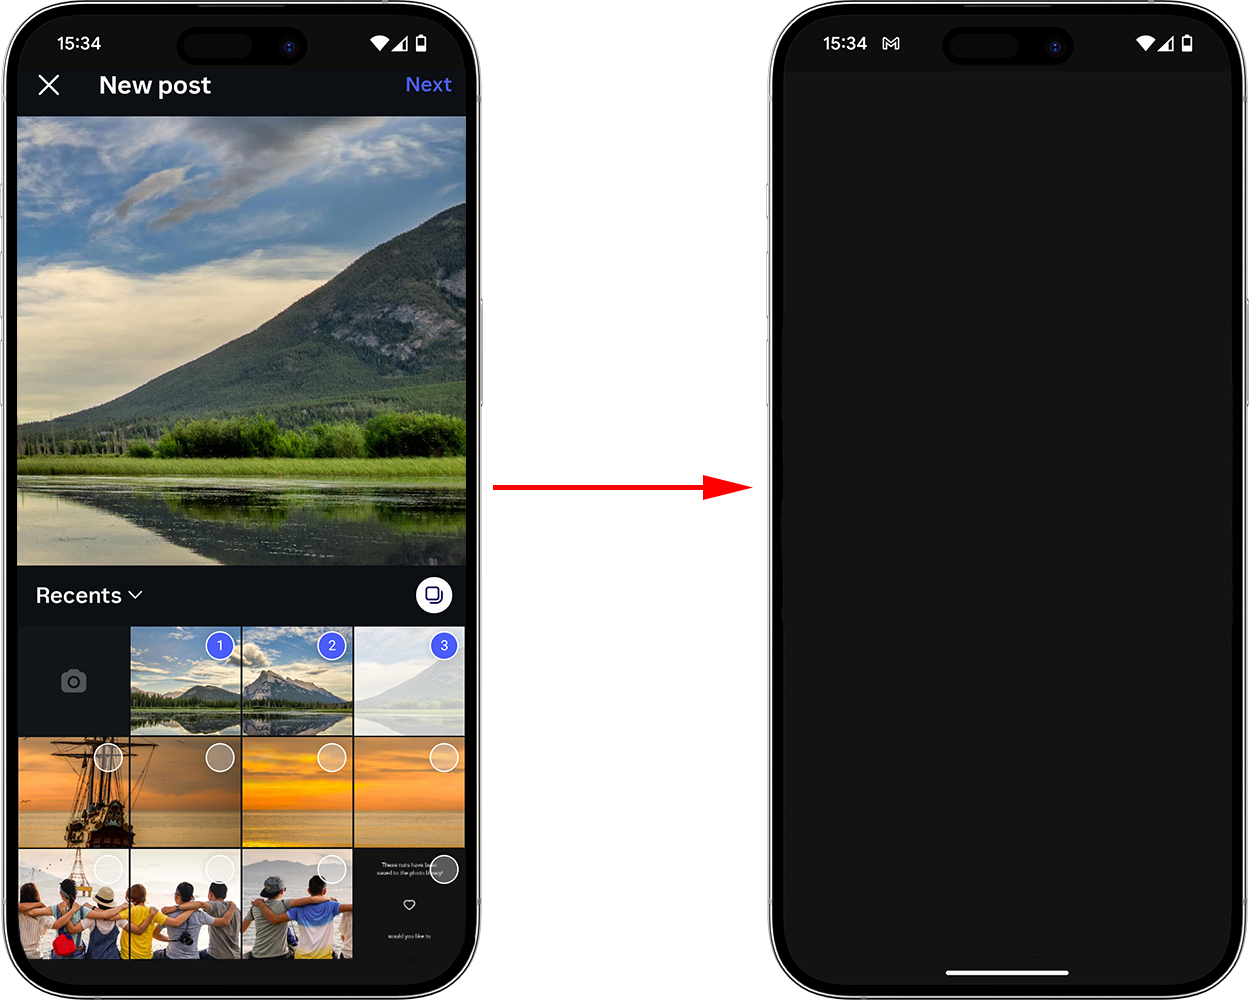
Step 4 — Format & post on Instagram
Now just head to Instagram, select the saved images in order, and post them as a carousel or grid. Your followers will love the seamless flow!
- Open Instagram → Create a new post → Choose Carousel (select multiple)
- Pick the saved slices in order → On the crop screen, set each image to 1:1 (square) or 4:5 as you prefer → Arrange if needed
- Add your caption → Post :)